- Home
- News

Press Release
June 20, 2019
Mitutoyo Corporation Announces the Release of the Renewed QM-Height Series
Improvement in operational efficiency and useful functions
 |
 |
|||||||||||||||
| QMH-350BX | QMH-600BX |
 |
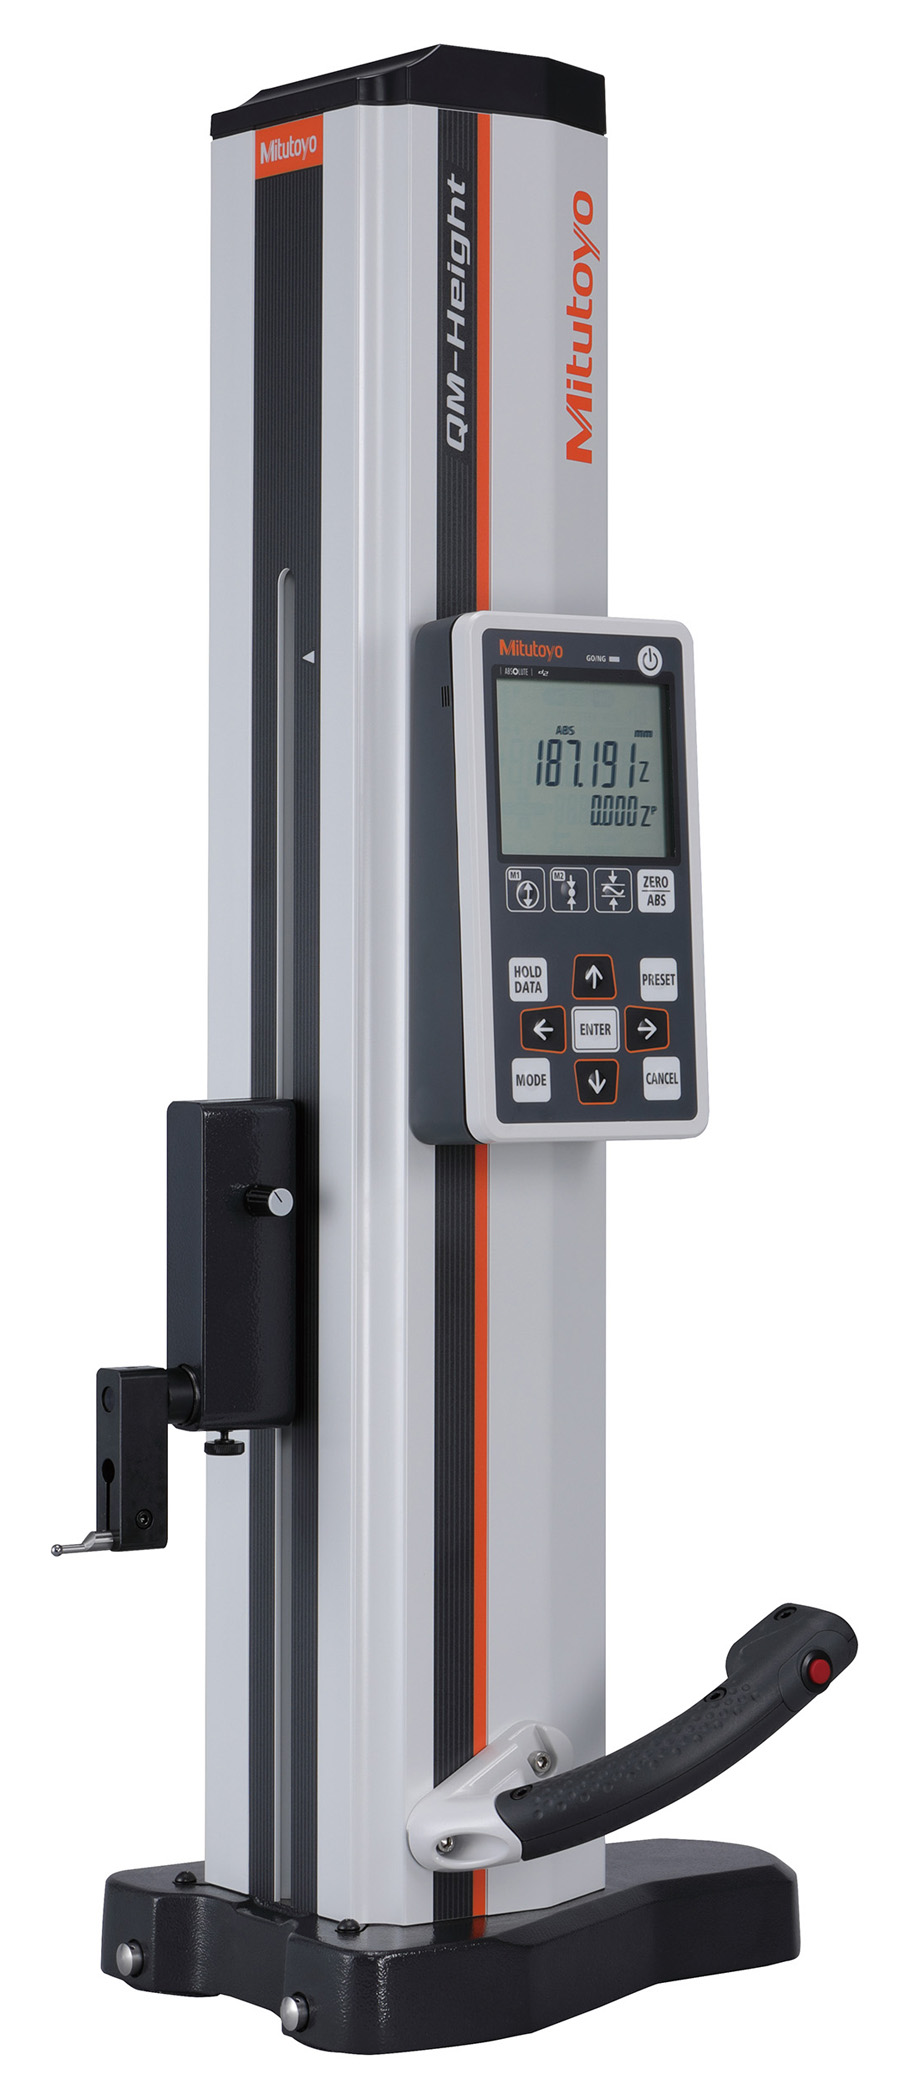
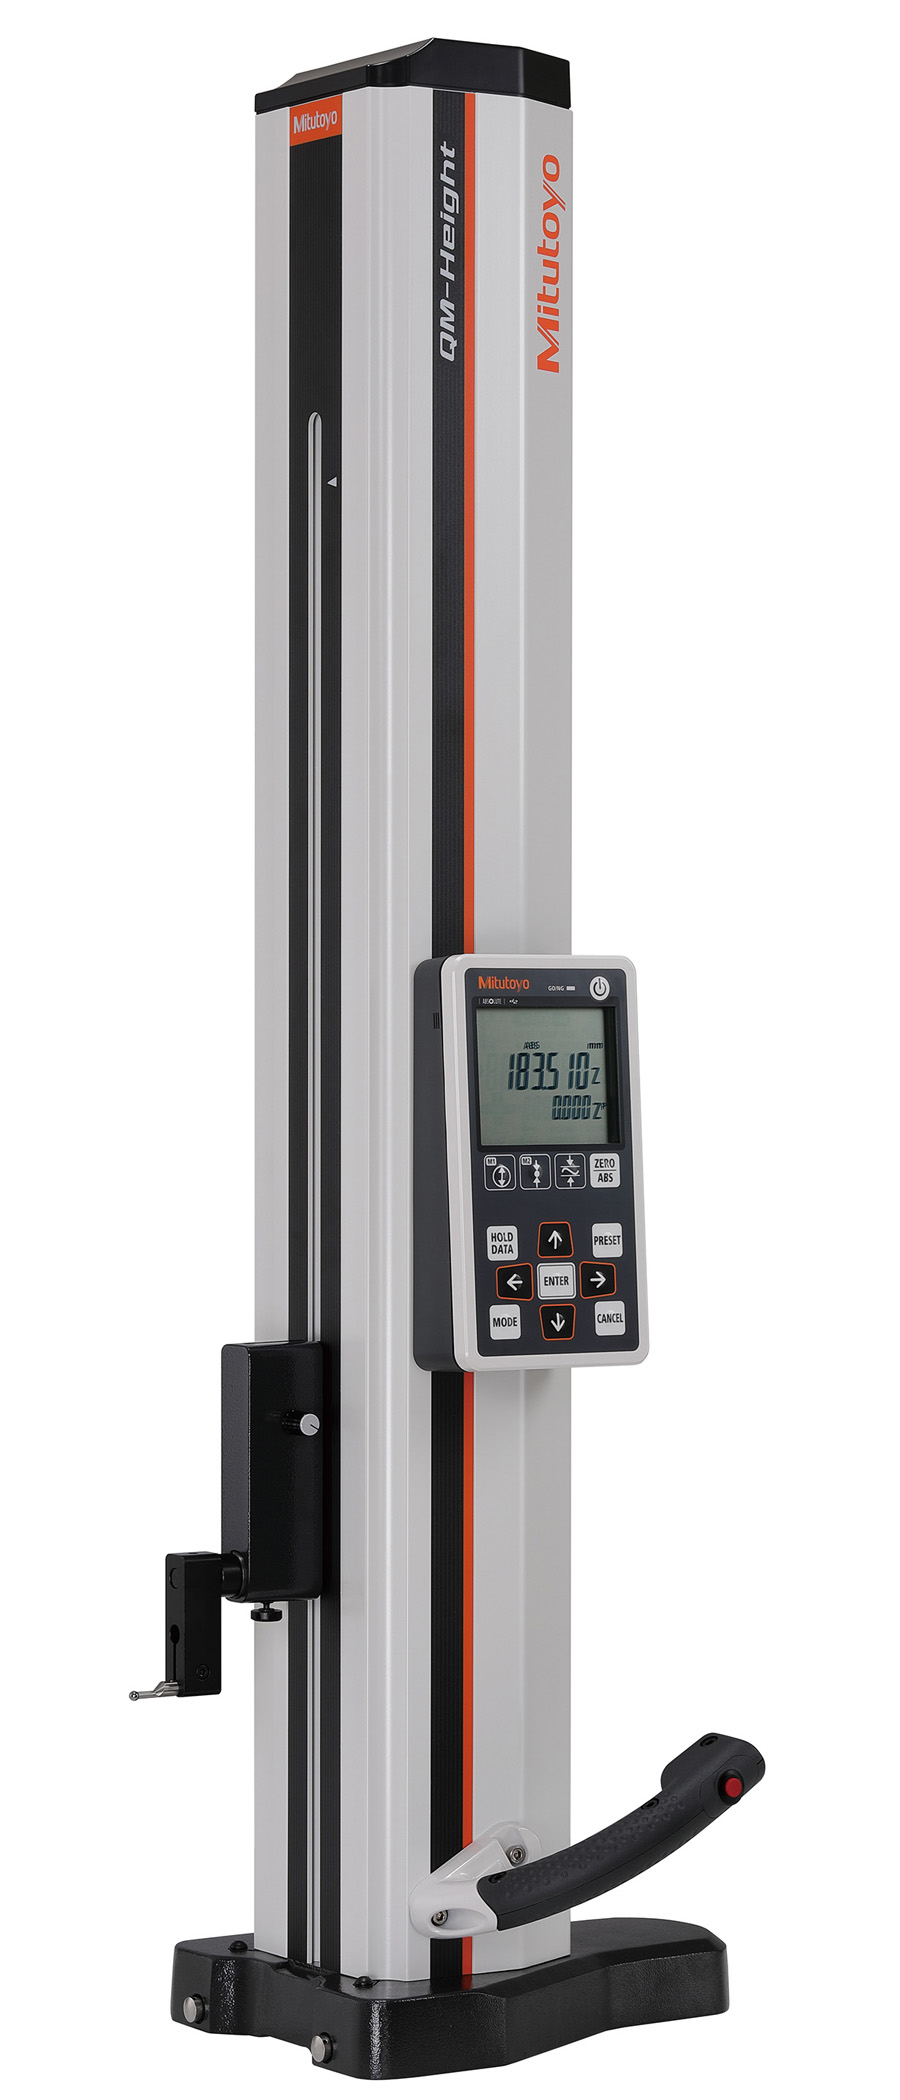
Mitutoyo Corporation (Head office: Takatsu Ward, Kawasaki City; President: Yoshiaki Numata) released the renewed series of QM-Height, the measuring instrument achieving the highest accuracy in its class.
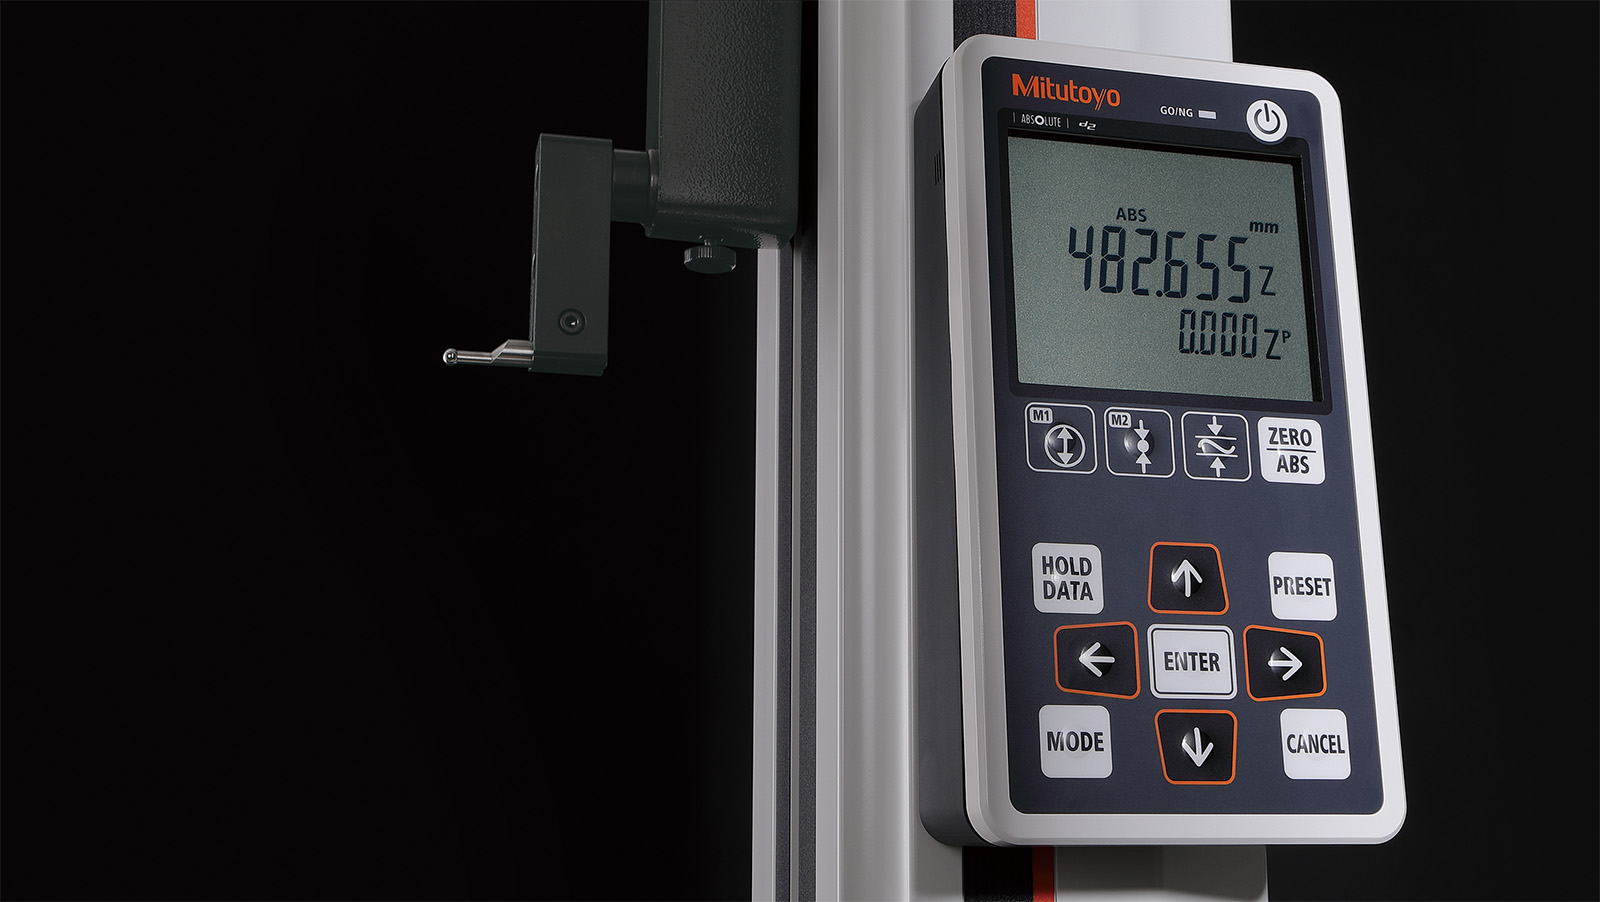
The QM-Height series is a high-performance height measuring instrument achieving the best accuracy in its class of ±(2.4+2.1L/600) µm. The easily operable large panel and single key operation enable intuitive measurement and have been favored by a wide range of users. The functionality has also been well-received. QM-Height measures height, height difference (step), inside/outside widths, inside/outside diameters, circle pitch and also free-form surface maximum/minimum heights and height difference by scanning measurement. The communication methods are available as external output, such as the U-WAVE-T measurement data wireless system, USB output and Digimatic output, smoothly achieving centralized data management.
This time, the unit design is completely renewed and vigorous coloring used, suggesting the advancedness and creativity suitable for the precision measuring instrument in the accelerating IoT generation.
The Mitutoyo logo stands out at the top of the enclosure. As for the functionalities, the convenience of powering with 4 AA batteries is maintained and the continuous usage is greatly extended from 300 hours to 1200 hours.
Mitutoyo’s precision measurements contribute to the future of evolving precision manufacturing.
[Main specifications]
| Order No. | Metric | 518-240 | 518-242 | 518-244 | 518-246 |
| Inch/Metric | 518-241 | 518-243 | 518-245 | 518-247 | |
| Model | QMH-350AX | QMH-600AX | QMH-350BX | QMH-600BX | |
| Measuring range (stroke) | 0 to 465 mm (350 mm/14 in) |
0 to 715 mm (600 mm/ 24 in) |
0 to 465 mm (350 mm/14 in) |
0 to 715 mm (600 mm/ 24 in) |
|
| Resolution (Selectable) |
Metric | 0.001/0.005 mm | |||
| Inch/Metric | 0.001/0.005 mm 0.00005/0.0001/0.0002 in |
||||
| Accuracy at 20 ˚C |
Indication | ±(2.4 + 2.1L/600) μm | |||
| Repeatability | 2σ ≤ 1.8 μm | ||||
| Perpendicularity at 20 ˚C (forward and backward direction) |
7 μm | 12 μm | 7 μm | 12 μm | |
| Guiding method | Roller bearing | ||||
| Drive method | Manual (wheel) | ||||
| Measurement principle | Electromagnetic induction absolute encoder | ||||
| Measuring force | 1.5±0.5 N | ||||
| Data output ports | Digimatic / Digimatic 2 / USB | ||||
| Air-suspension feature | Not included | Included (for positioning only) | |||
| Power supply | Alkaline AA /LR6 batteries × 4 (standard accessories) / AC adapter (optional accessory)/ |
||||
| Supports NiMH (HR6) rechargeable batteries × 4 | |||||
| Battery life guidelines | Approx. 1200 hours (without using the air-suspension feature ) | ||||
| Approx. 90 hours (when using the air-suspension feature ) | |||||
| Mass | 25 kg | 29 kg | 25 kg | 29 kg | |
| Size (mm) | 350 mm stroke type: 280(W) x 273(D) x 784(H) mm 600 mm stroke type: 280(W) x 273(D) x 1016(H) mm |
||||
| Operating temperature range (recommended) |
0 to 40 ˚C (10 to 30 ˚C) | ||||
[Features]
| • | Best-in-class accuracy ±(2.4+2.1L/600) μm |
| • | Built-in air-suspension feature using an internal pump enables smooth movement over a surface plate. (Lower-cost version without air suspension also available) |
| • | Easy-to-view, simple control panel enables most measurements to be made with a single keystroke. |
| • | Eco-friendly product, operable for approximately 1200 hours with four AA alkaline batteries. (Four commercially available nickel hydride batteries can also be used.) |
| • | By installing the U-WAVE-T measurement data wireless communication system or USB communication driver in your PC, the optional functions that enhance operability, including output of measurement data to your PC, become available. |
