- Home
- News

Press Release
August 21, 2020
Mitutoyo's Largest M3 Solution Center in Japan or Overseas Opens
New Center Can Offer Proposal-Based Solutions
M3 Solution Center UTSUNOMIYA Begins Operations
|
|
|
 |
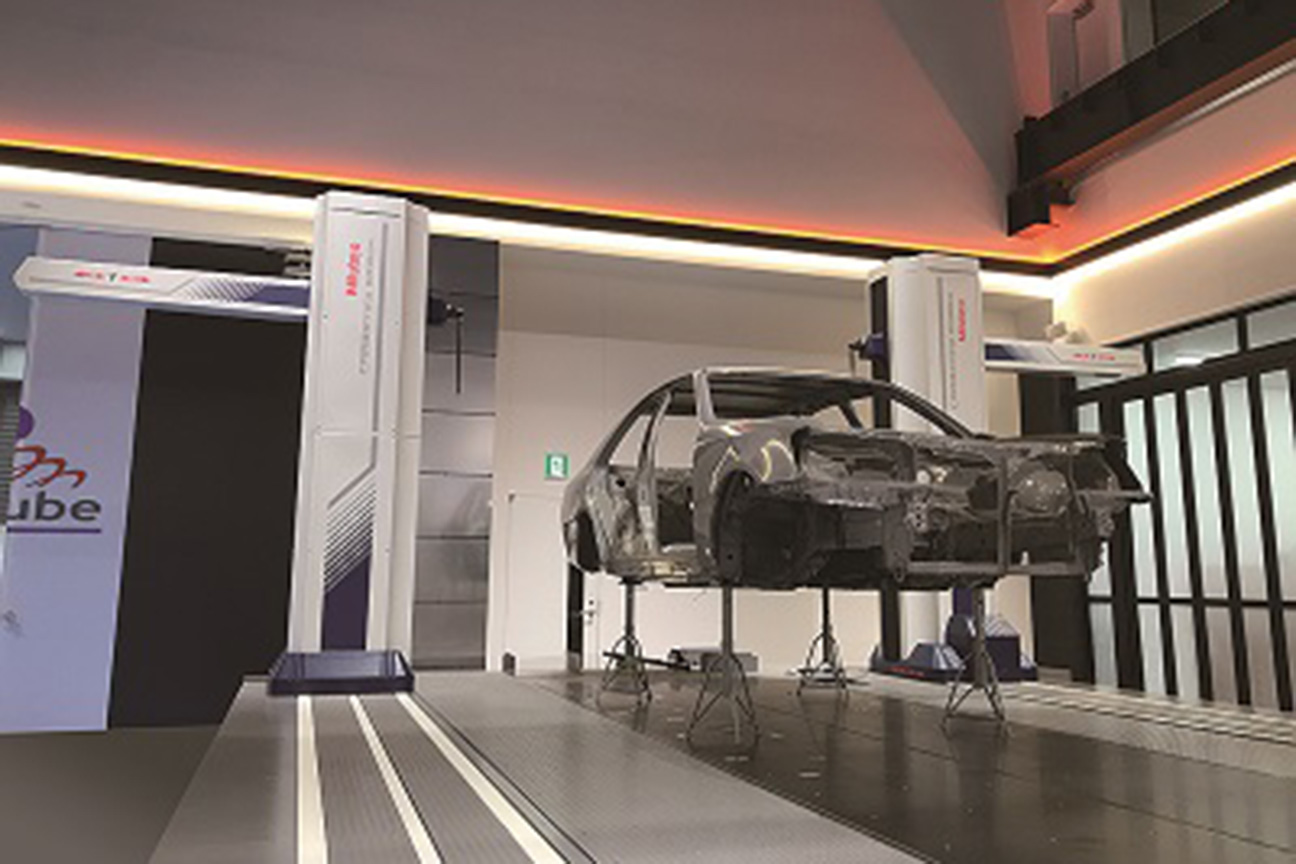 |
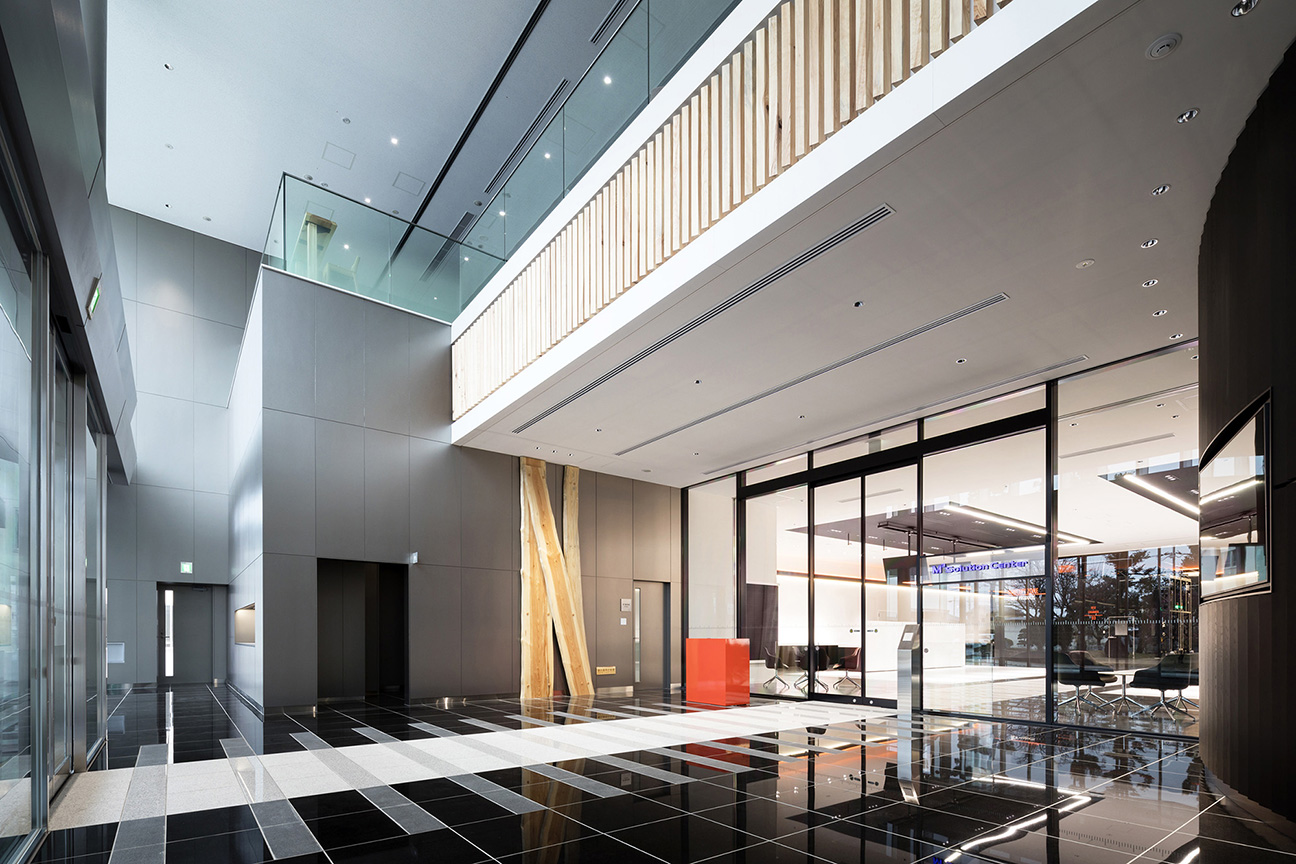
| ▲ First-floor entrance | ▲ First-floor display area (ultra-large CMM) |
 |
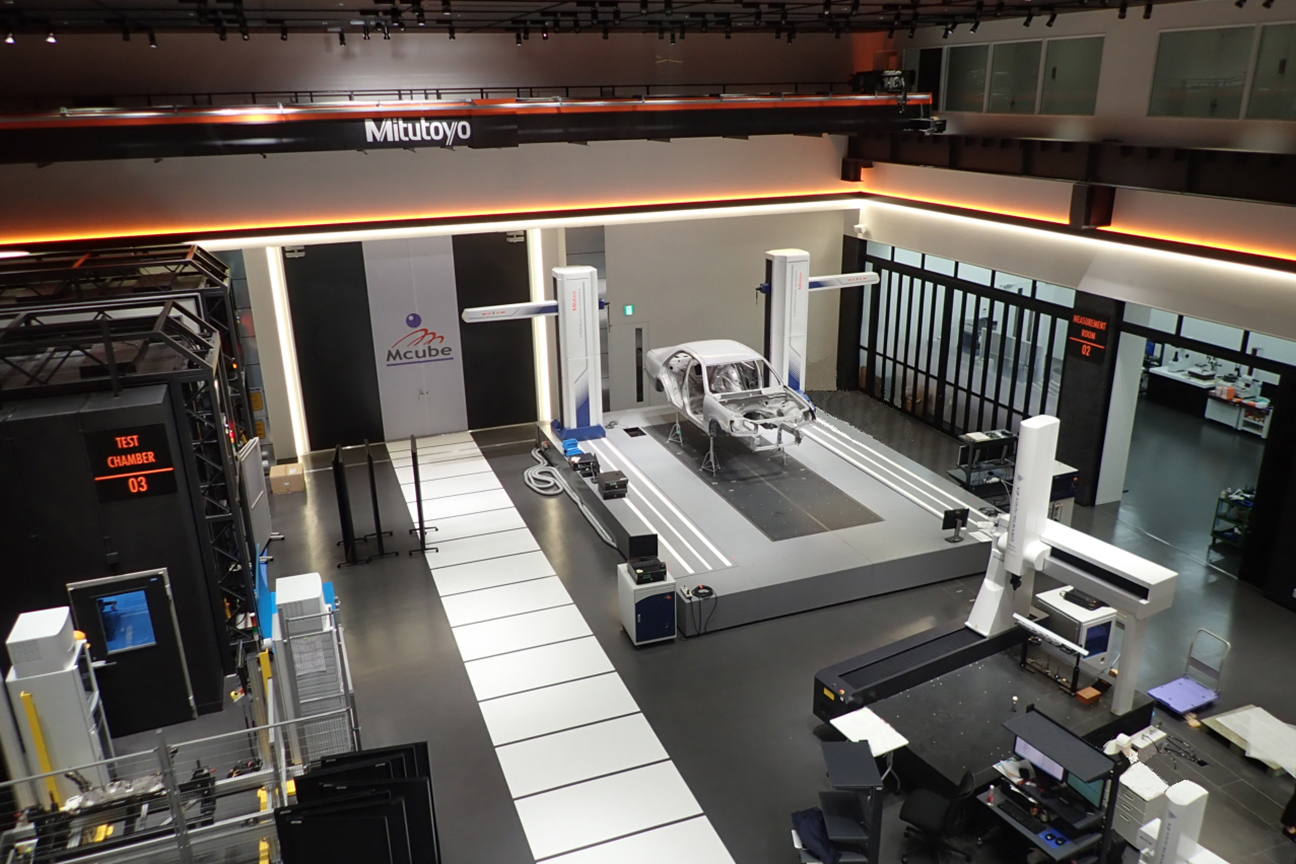 |
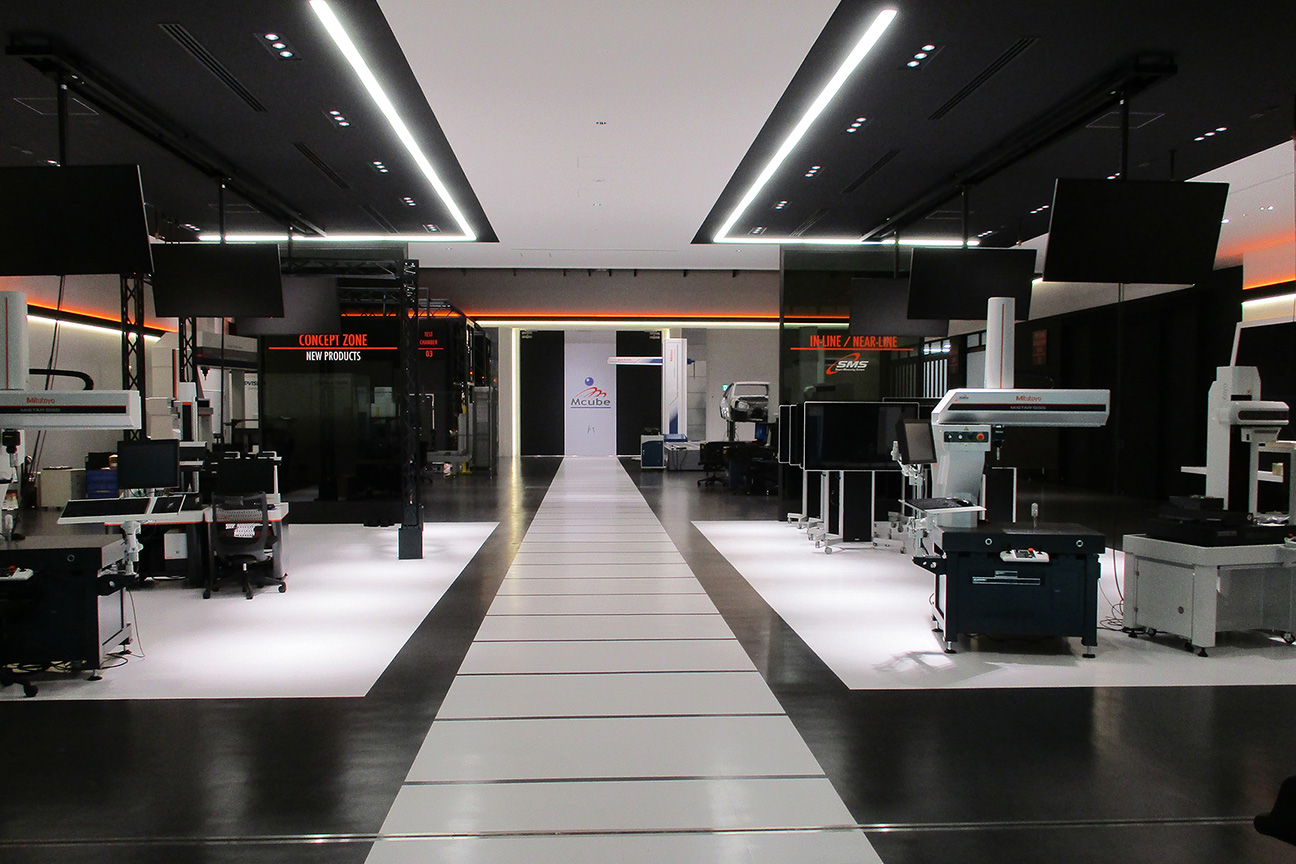
| ▲ First-floor display area | ▲ The first-floor display area seen from the second-floor atrium |
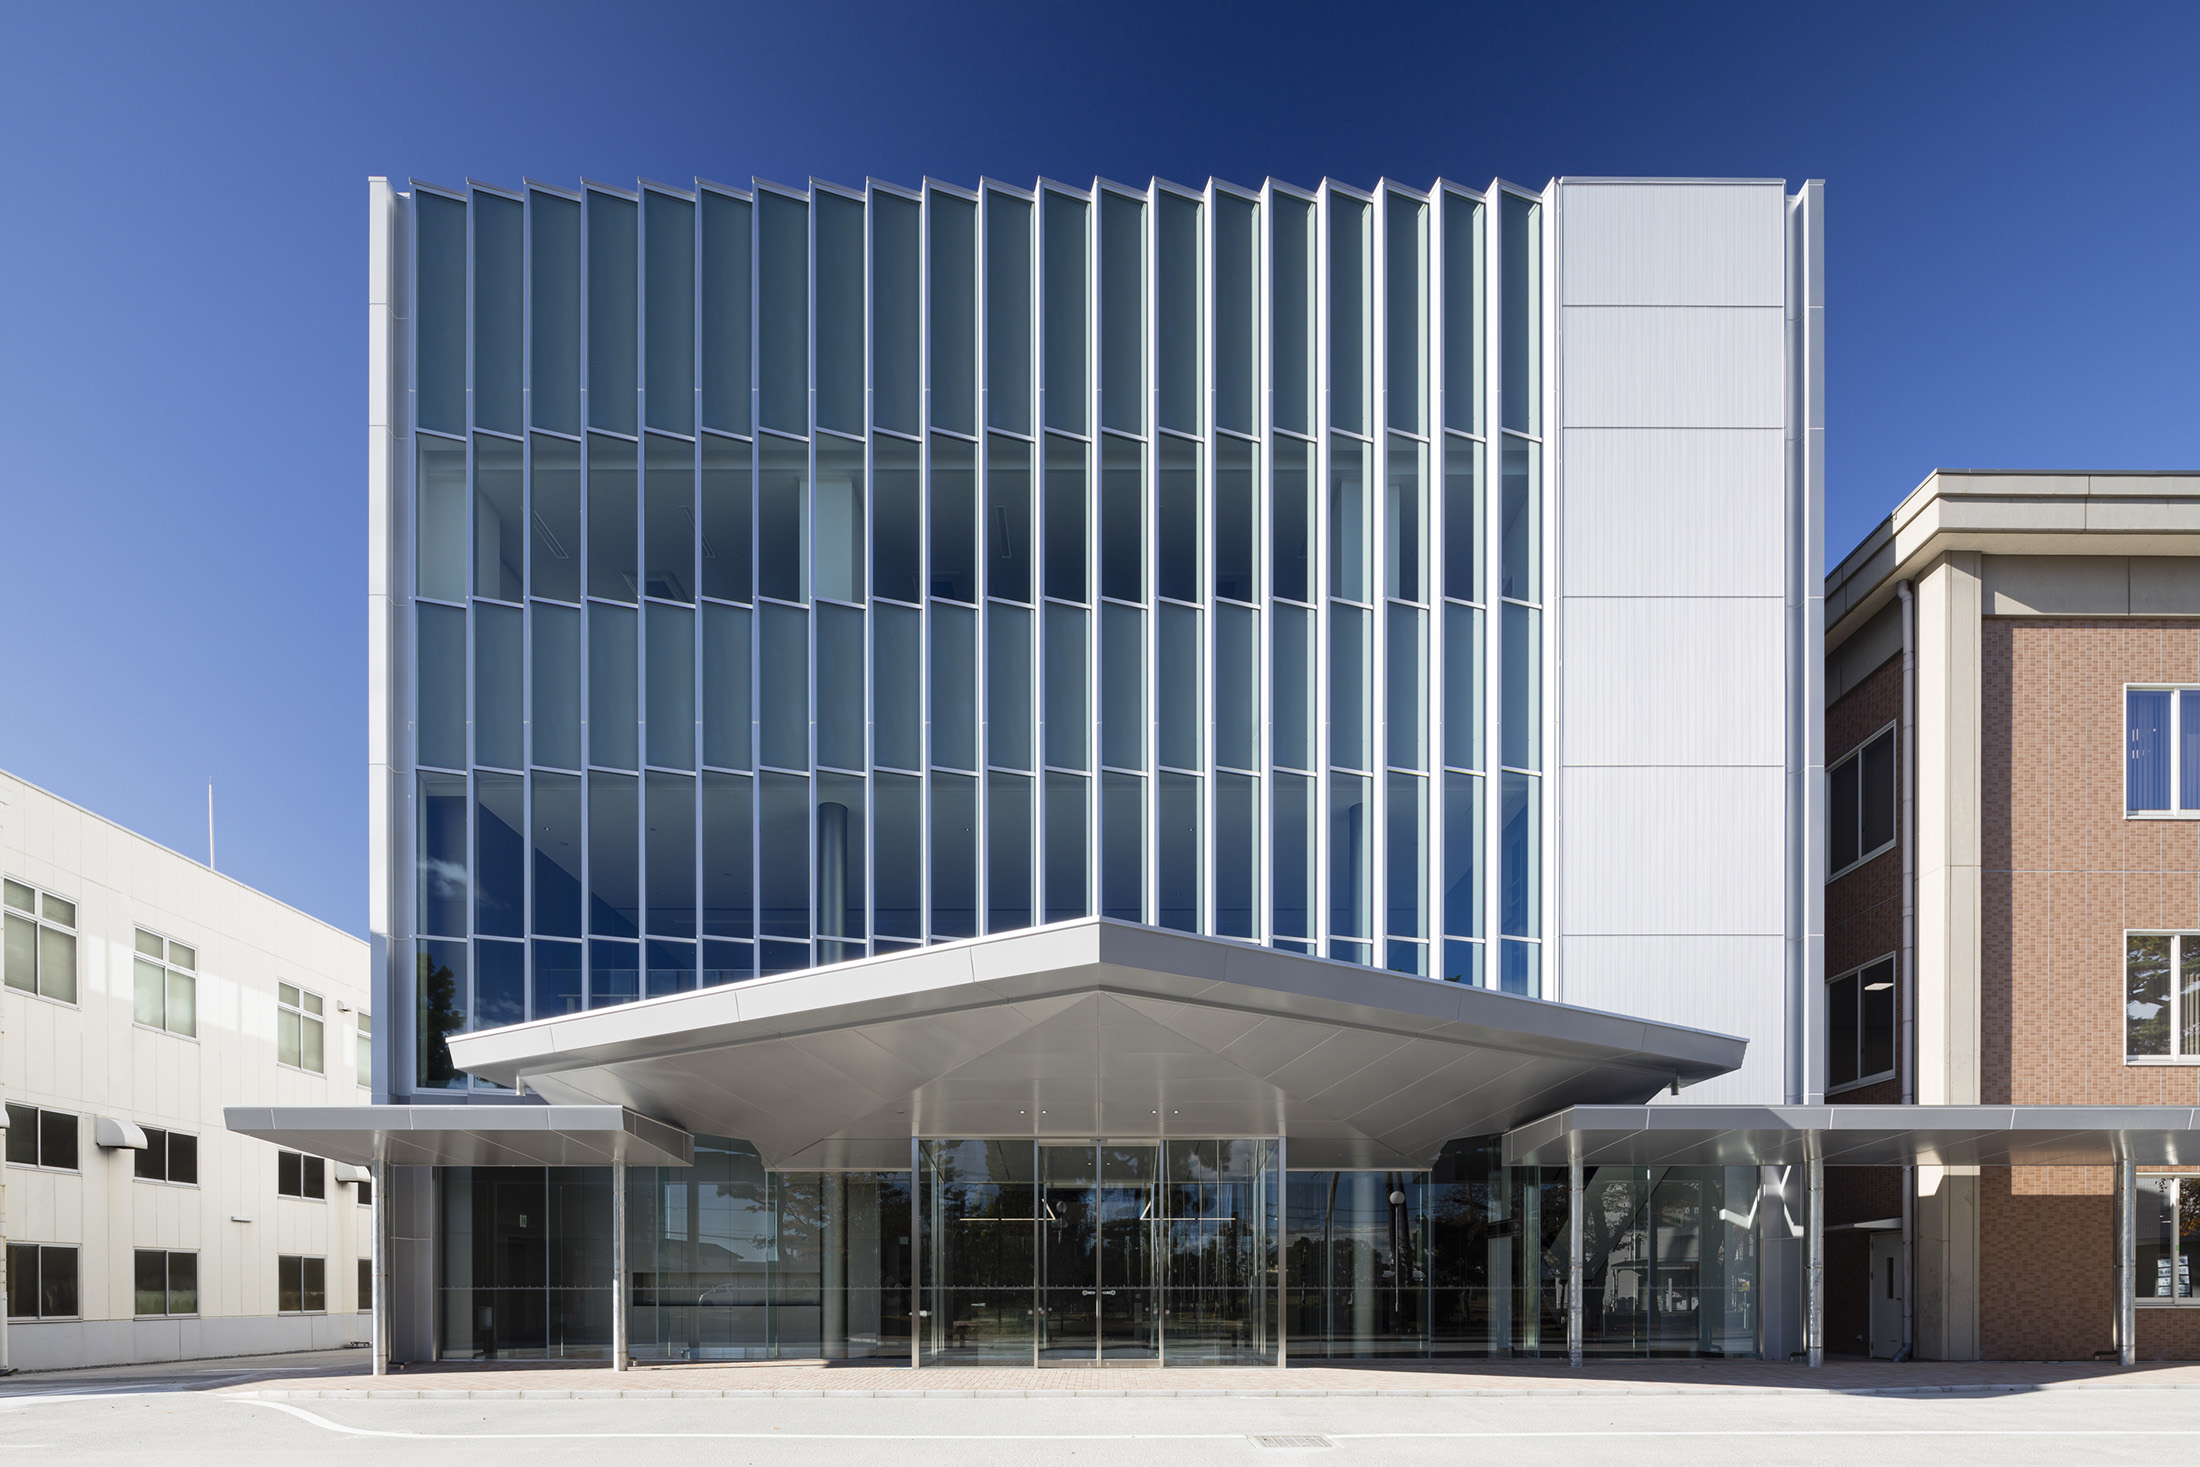
Mitutoyo Corporation (headquarters: Takatsu-ku, Kawasaki-shi, Kanagawa, Japan; President: Yoshiaki Numata) constructed a new three-story Solution Building to expand and enhance showroom functions and reinforce the calibration business as part of the first phase of its Utsunomiya Operations redevelopment plan. The M3 Solution Center UTSUNOMIYA, previously the Utsunomiya Showroom, has been capable of conducting demonstrations of coordinate measuring machines (CMM) and other products at the Utsunomiya Operations and proposing cutting-edge measuring technologies since May 2003, but it recently relocated to the first and second floors of the Solution Building and began providing solution services in the form of advantageous proposals to customers as the M3 Solution Center UTSUNOMIYA, the largest-scale Mitutoyo solution center in Japan or overseas, on June 1.
The Utsunomiya Operations began operations as a precision measuring instruments production base in 1944. Today, it is Mitutoyo’s largest production base, producing calipers and height gages, CMM that use state-of-the-art technologies, and linear scales for positioning measuring instruments, machine tools, and other tools.
The key features of the M3 Solution Center UTSUNOMIYA, which is located within the Utsunomiya Operations, are the display of large CMM and measuring instruments, which are not shown at other M3 Solution Centers, and the ability to observe measuring instrument manufacturing processes by touring the Small Tool Plant, Microcord Plant, and Kiyohara Plant. In addition, the Solution Building also has a Calibration Laboratory for calibrating measuring instruments entrusted by customers, and tours of the lab are also possible as a new initiative. Moreover, a Concept Zone has been established to make cutting-edge measuring instrument proposals according to market trends. This facility is not simply a showroom to be toured, but functions as a forum for making proposals that solve customer measurement-related issues through demonstrations of measuring instruments, serving as a dynamic sales site that can proactively propose solutions that will achieve customer satisfaction.
Note 1: To prevent the spread of the novel coronavirus infection (COVID-19), the M3 Solution Center UTSUNOMIYA has curtailed operations. We apologize for the inconvenience to customers.
Note 2: The “M3 (M-cube)” of M3 Solution Center stands for three M’s, namely, “Mitutoyo”, “Measurement”, and “Metrology”.
Overview of the Solution Building
・Structure and size: Three-story steel-frame structure; building area: 2,650 m2 (floor area: 6,849 m2)
Overview of the M3 Solution Center UTSUNOMIYA
・ Display area: 1,741 m2 (first and second floors)
・ First floor: Product display area; Second floor: Reception area
・ Items on display: 1,050 (excluding measuring tools)
・ Display items: Measuring tools, measuring instruments, Concept Zone (cutting-edge measuring instrument proposals according to market trends)
・ Value of display items: Approximately ¥600 million
・ Investment in furnishings (interior only): Approximately ¥300 million
Seven M3 Solution Centers in Japan
M3 Solution Center UTSUNOMIYA
2200 Shimogurimachi, Utsunomiya-shi, Tochigi
M3 Solution Center TOKYO
1-20-1 Sakado, Takatsu-ku, Kawasaki-shi, Kanagawa
M3 Solution Center SUWA
582-2 Nakasu, Suwa-shi, Nagano
M3 Solution Center ANJO
5-19-5 Sumiyoshi-cho, Anjo-shi, Aichi
M3 Solution Center OSAKA
1-4-34 Nankokita, Suminoe-ku, Osaka-shi
M3 Solution Center HIROSHIMA
6-8-20 Hirokoshingai, Kure-shi, Hiroshima
M3 Solution Center FUKUOKA
4-16-37 Hakataeki Minami, Hakata-ku, Fukuoka-shi, Fukuoka
