- Home
- News

Press Release
April 8, 2021
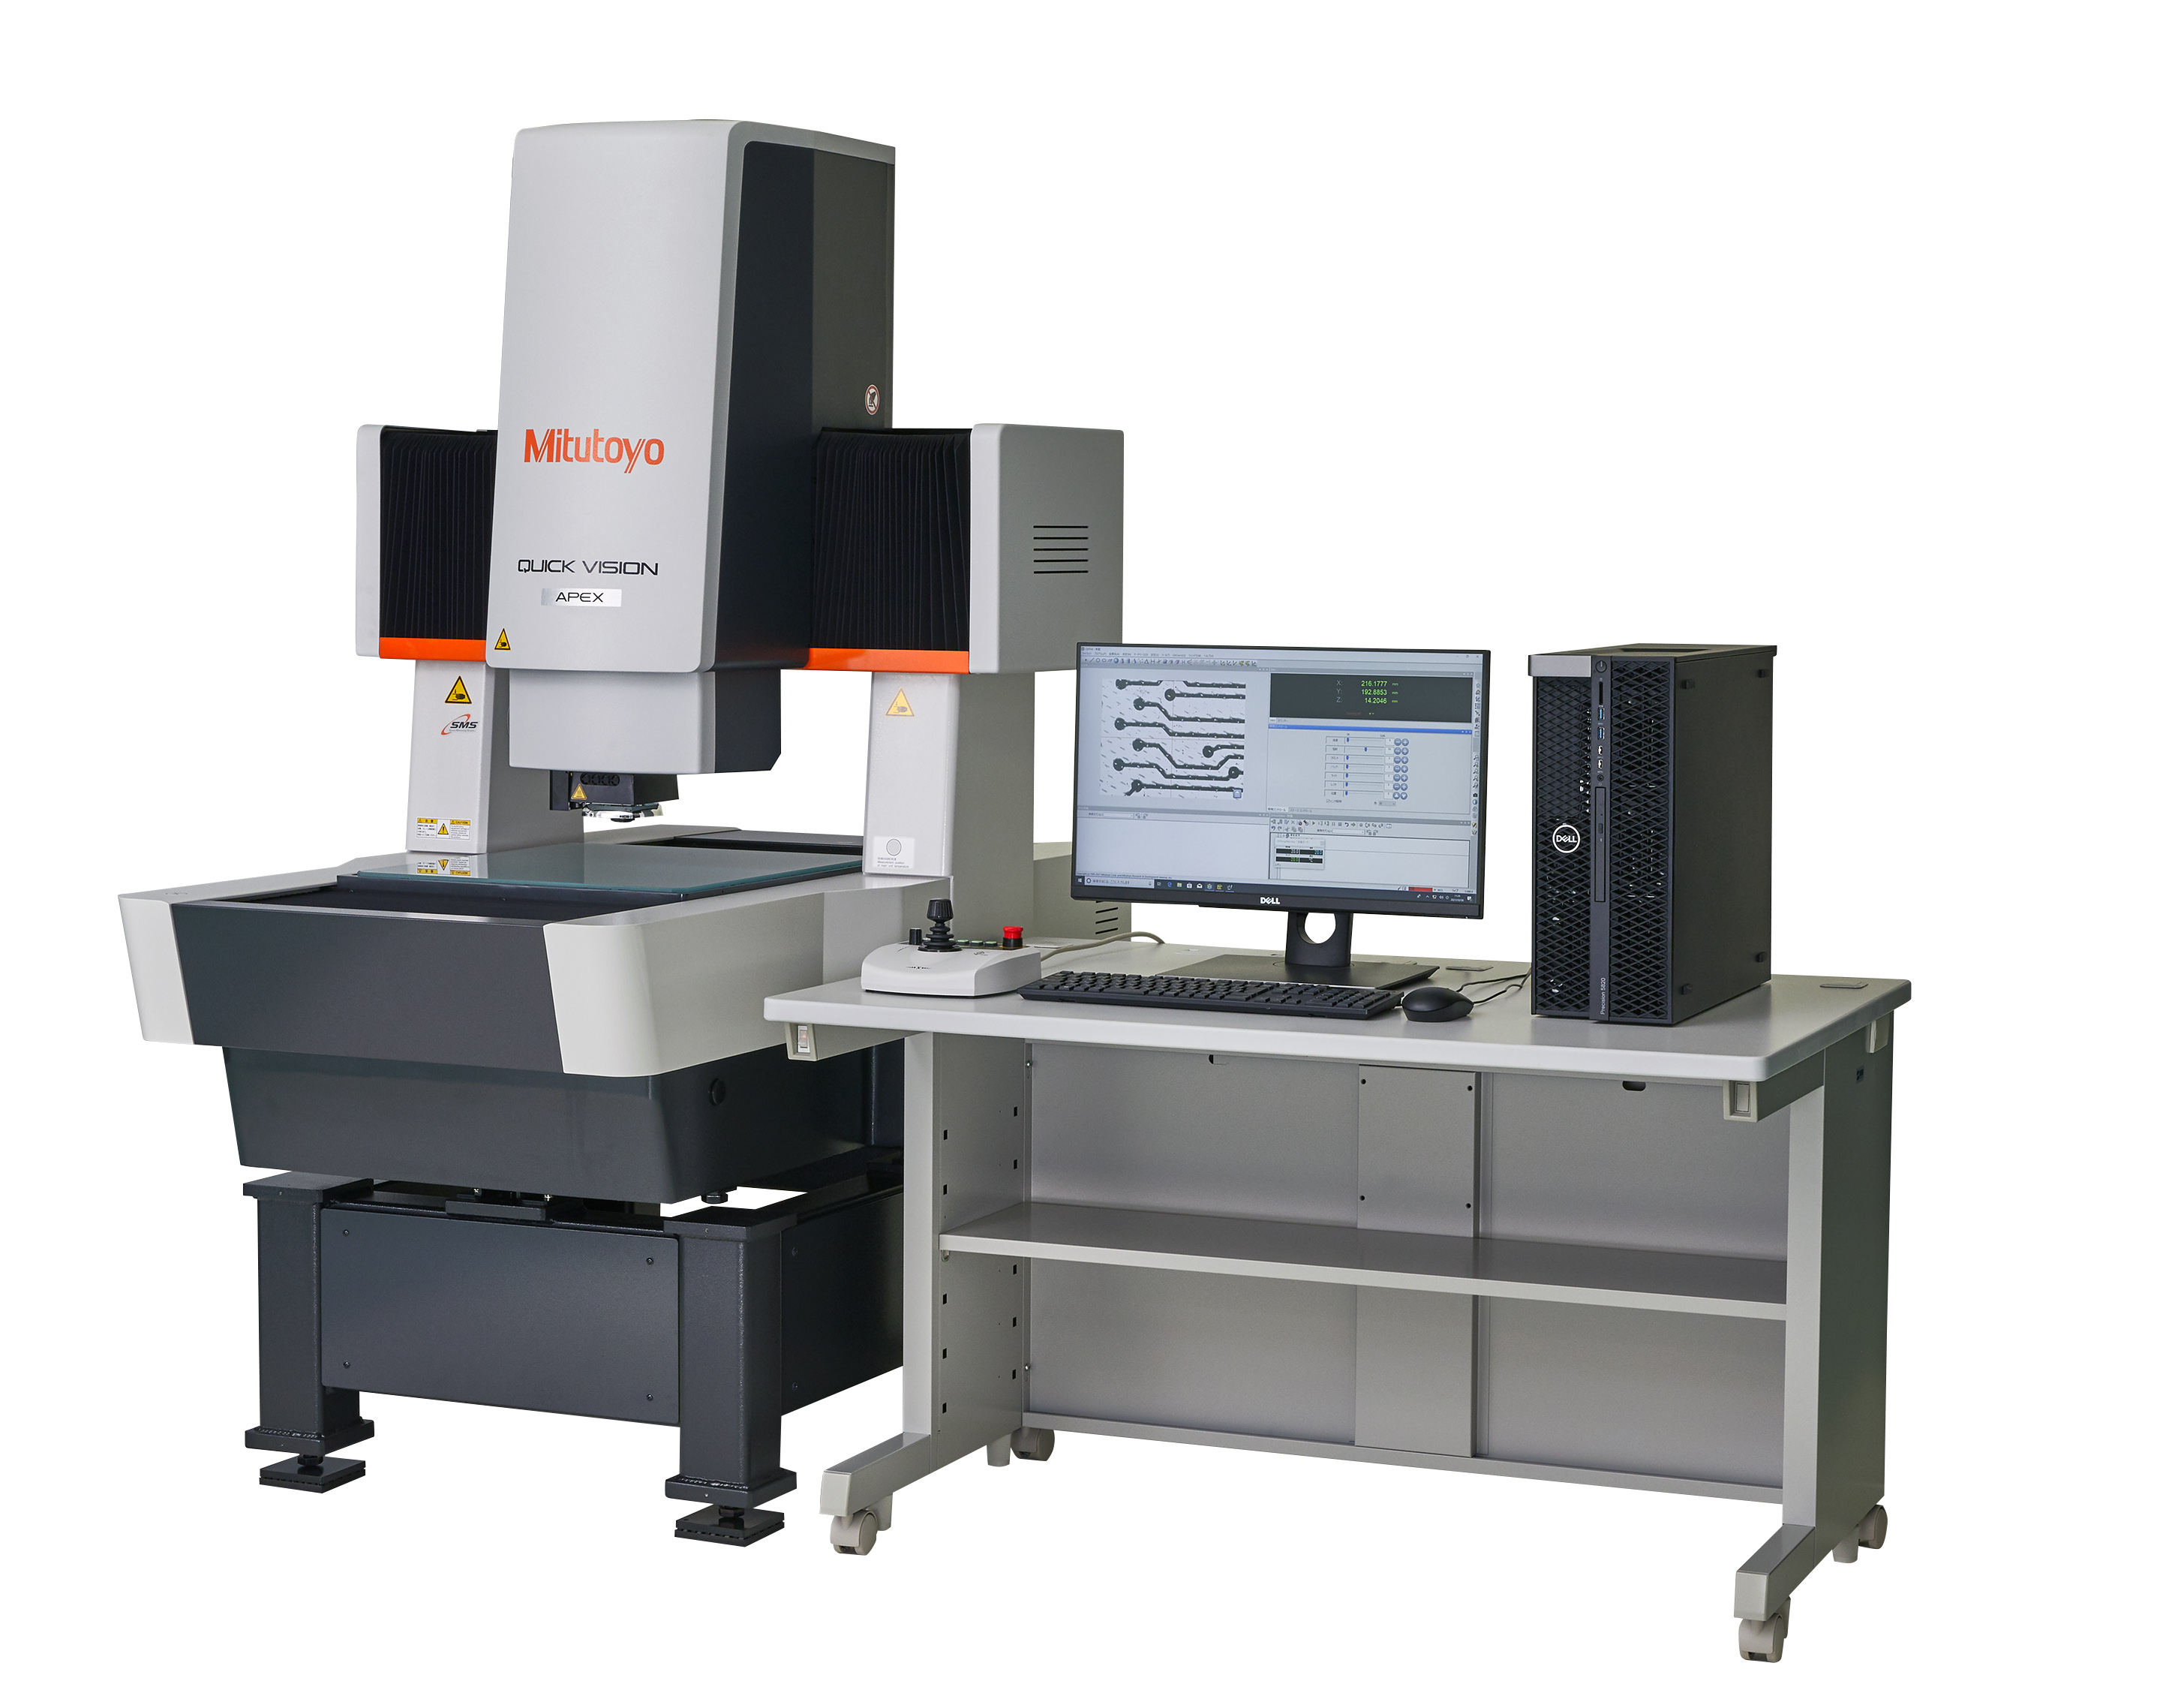
Mitutoyo releases its CNC Vision Measuring System "Quick Vision Pro series"
with improved measurement throughput and usability

Mitutoyo Corporation (headquarters: Takatsu Ward, Kawasaki City, Japan; President: Yoshiaki Numata) launches the full-remodeled CNC Vision Measuring System “Quick Vision Pro” in May 2021.
Since its release, the CNC Vision Measuring System has been used in a wide variety of industries such as semiconductor, electronic device, automobile, medical, and precision mechanical parts industries.
The demand for semiconductor industry has been increasing due to digitalization, 5G communication system, and decarbonization. The CNC Vision Measuring System enables high speed and automated measurements in a non-contact manner, and it is indispensable for dimensional measurement of semiconductors and electronic devices.
The horizontal specialization of fabless manufacturing, which has been led by the semiconductor industry, is now about to change every industrial structure. The faster product launch is required in the industry.
Equipped with a Strobe LED lighting, all models of Quick Vision Pro have improved its measurement throughput by 40% compared with the previous model through StrobeSnap function.
The Stream function for non-stop measurement is also available as option. The main unit operation and the strobe light are synchronized to enable non-stop measurements.
Mitutoyo contributes to society through precision measurement for the ever-evolving future of manufacturing.
[Main features]
| 1. | Improved measurement throughput by 40% compared with current models. All models have a Strobe LED lighting. The StrobeSnap and the newly developed vision measuring function allow high-speed/accuracy measurements. |
| 2. | Upgrading to the system with Stream function. The system can be equipped with the Stream function that synchronizes the main unit drive and Strobe to enable measurement without stopping the main unit. Especially effective for continuous measurement. Improvement in measurement speed by about 80% compared with current models. |
| 3. | Immediate Auto focusing by TAF(Tracking Auto Focus) The TAF tracks, adjusting to changes in the height of the workpiece by using laser immediately. Improvement in measurement throughput by using StrobeSnap and Stream mode function. |
| 4. | Image AF speeded up by 30% compared to current models. The Image AF for Quick Vision Pro can measure mirrored surfaces, transparent workpieces, or rough surfaces, etc with high accuracy at high speed. |
| 5. | Excellent in edge Detection by color LED The lineup includes a model equipped with color LED lighting that is excellent for edge detection. The lighting color of co-axial and ring light is selectable from red, green, blue, and simulated white. Software has the simulated color image function to display simulated color image that is excellent for observation performance. |
| 6. | Enhanced usability for software The stitched image of the measurement workpiece is displayed on the graphics window, making it easier to locate and move the measurement position. |
[Main specification]
| QV APEX Pro | QV HYPER Pro | ||
| Measuring range | 300×200×200mm、400×400×250mm、600×650×250mm | ||
| Scale resolution | 0.1μm | 0.02μm | |
| Measurement accuracy |
EUX,MPE/EUY,MPE | (1.5+3L/1000)μm | (0.8+2L/1000)μm |
| EUZ,MPE | (1.5+4L/1000)μm | (1.5+2L/1000)μm | |
| Option | Touch probe | ||
| TAF(Tracking Auto Focus) | |||
| CPS(Non-contact sensor) | |||
